The instructions below assume that you have an account within SeattleClouds. They walk you through how to add the Easy Quiz Page Type to your app. The instructions include a link to a demo video showing how to use the Questions Generator Excel file to generate a database of questions for use in your mobile app.
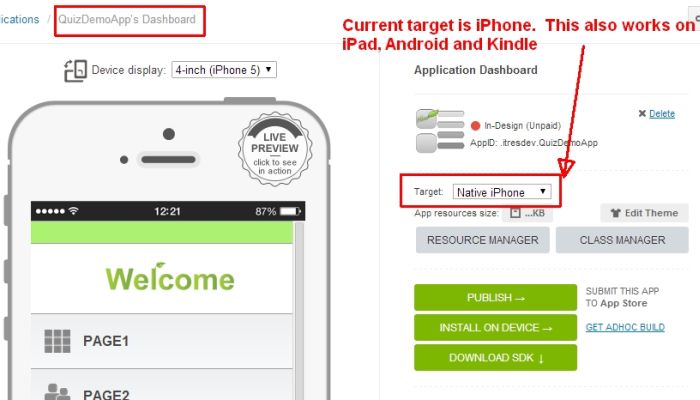
1. Navigate to your app’s “Dashboard” – from within Seattle Clouds.
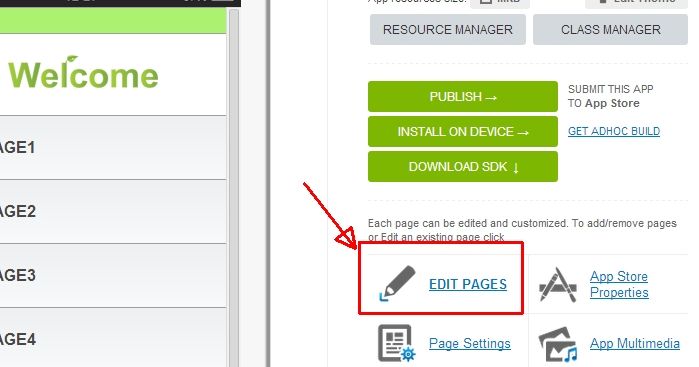
2. Click on the “Edit Pages” Button.
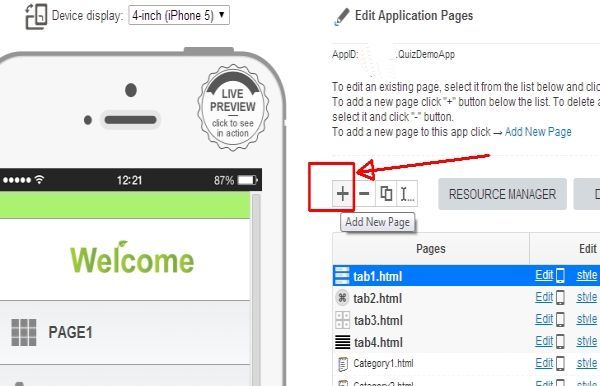
3. Click on “Add New Page” Button.
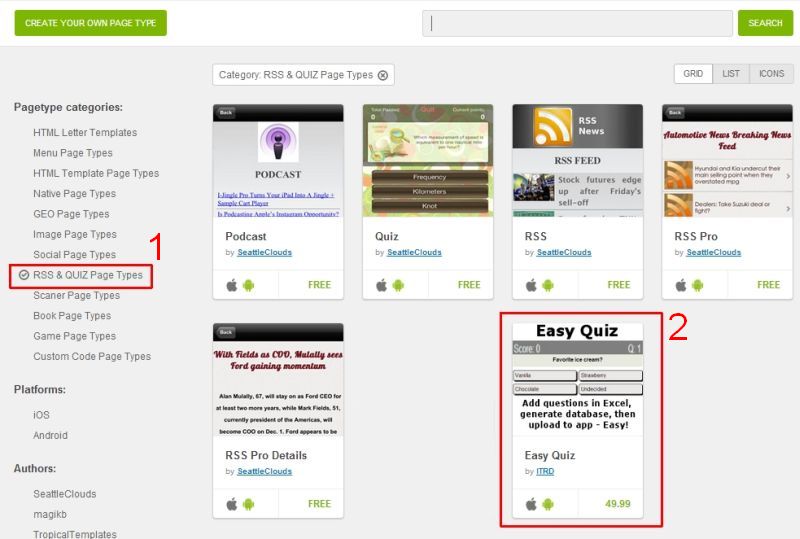
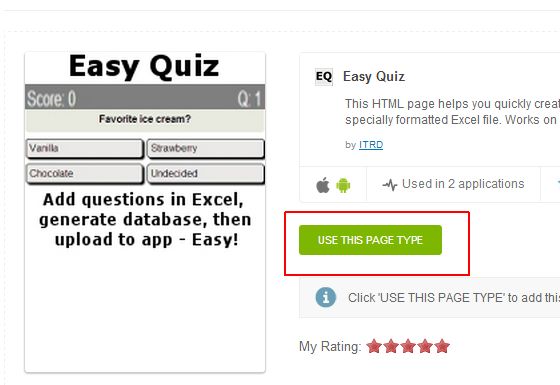
4. Click on “RSS & Quiz Page Types” Button, then click on Easy Quiz.
5. Click on “Use This Page Type”.
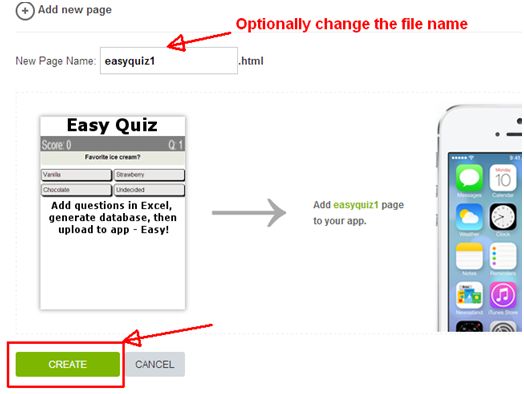
6. Optionally change the file name and click on the “Create” Button.
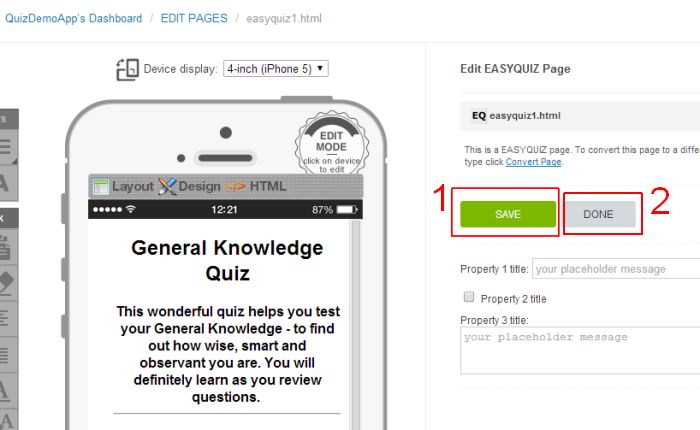
7. Click on "Save" Button, Then click on the "Done" Button
8. At this point, a number of files will be added to your app. They include the following files:
- Readme.html – this file contains a link to the Question-generator.xls Excel file. Please be sure to read this file as it has useful information / links. This is a must-read – please go here, copy the URL and navigate to this URL using your browser, before proceeding to the next step.
The instructions in the section below assume that you have downloaded this Excel file.
- easyquiz1.html (or whatever name you specified in step above). This file is the launch page for the 3 quiz files. You can optionally make this your tab1 page. (One way to do this is to rename the current tab1.html to tab1original.html. Then rename easyquiz1.html to tab1.html).
- quiz-style.css – this file is the css file used on the quiz pages.
- ice.jpg – used to demo a question that has an image.
- Questions.js (this file contains the questions displayed in the app. Steps on how to update this file are below.
- 100-questions.html, 50-questions.html and 25-questions.html. These files display the quiz questions. They are linked from and accessible from easyquiz1.html.
- Jquery-1.3.2.min.js – a javascript file. You can ignore this file. Do not delete as this file is needed / used.
- Quizmenuimage.jpg – this image file displays at bottom of the quizmenu.html. Feel free to replace or delete this file and the reference to this file (in easyquiz1.html).
How to Update the Questions Used in the App - Using the Questions-Generator.xls file
9. Go to the Readme.html file. This file is available within the EasyQuiz Page Type. This file contains a link to where you can download the Questions-Generator.xls file. Unfortunately, we have not been able to upload this into the page type directly as this extension / file type is not supported.
Download the Excel file to your computer. MS Excel for Windows is required, preferably version 2003 and higher. We have not tested this on Excel for Macintosh.
If you have already downloaded the file, then please continue with the following steps.
10. You can watch a demo of how to use the Excel file in our demo Youtube Video – available below or here - http://bit.ly/quizappvid . Please watch this video as it covers what you need to know and may save you some time.
11. Open the Question-Generator.xls Excel file.
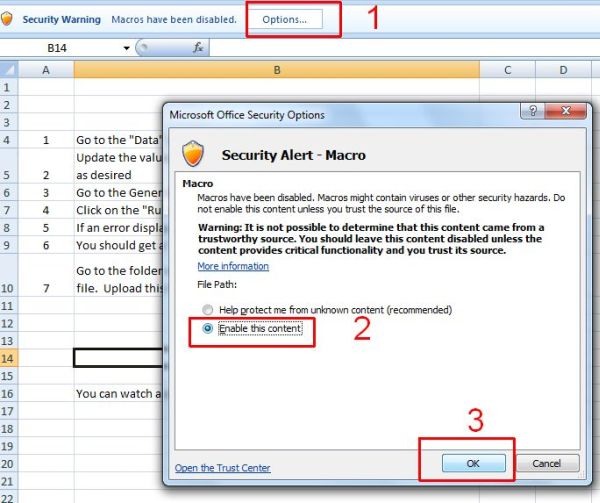
12. This Excel file uses VBA / Macros. Macros must be enabled after opening the file. Your screen may be different than the one below depending on the version of Excel that you are using. In the demo video here - a different version of Excel is used and the macro notification looks different - http://bit.ly/quizappvid
13. Go to the “Data” sheet. Please take 1-2 minutes to observe how content is laid out into specific, different columns. We have laid this out in a manner that is simple and user friendly.
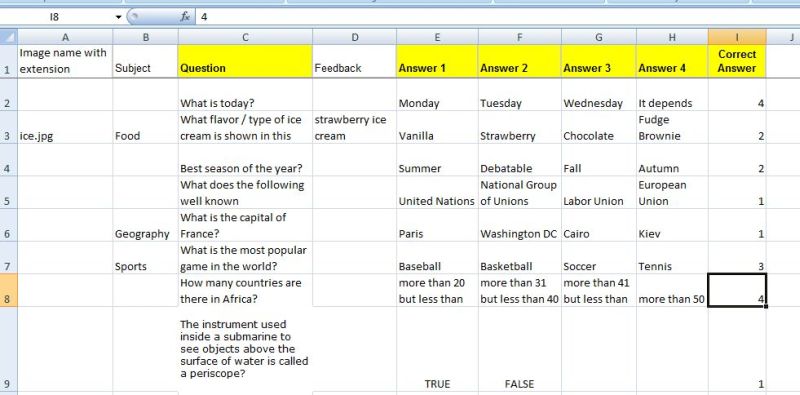
- “Question” Column: Enter here the question shown to the user. This is Required.
- “Answers 1-4” Columns: At least 2 of the 4 columns should be filled out for each row / question. In the case of True / False question, you can add 2 responses (“True” in “Answer 1” Column and “False” in “Answer 2” Column). See the demo examples for an illustration.
- “Correct Answer” Column is Required: If you do not add a number here that corresponds to the column that has the correct answer (for example 1, 2, 3 or 4), the generation routine will report an error – informing you of the rows that need to be fixed. This is demonstrated in our YouTube demo video.
- The following columns are optional / not required and can be left blank:
- “Image name with extension”: If your question uses an image, then you can enter the image extension here.
- “Subject”: If your quiz divides question into subjects, you can enter a subject here and it will be displayed before the question.
- “Feedback”: This is additional feedback you can provide to the user when they do not get a question right. This can be a few words to several sentences.
- “Image name with extension”: If your question uses an image, then you can enter the image extension here.
14. Proceed to add your quiz questions to “Data” sheet into the designated columns. The demo video shows how to do this.
- Do not delete Row 1, which contains the column headings. Feel free to type over or delete rows that contain questions.
- Do NOT copy and paste content that has lengthy spaces and paragraph breaks etc. This could break the code and prevent the questions from displaying.
- Be sure to add a decent number of questions - for example at least 25 questions before testing the 25 questions quiz etc.
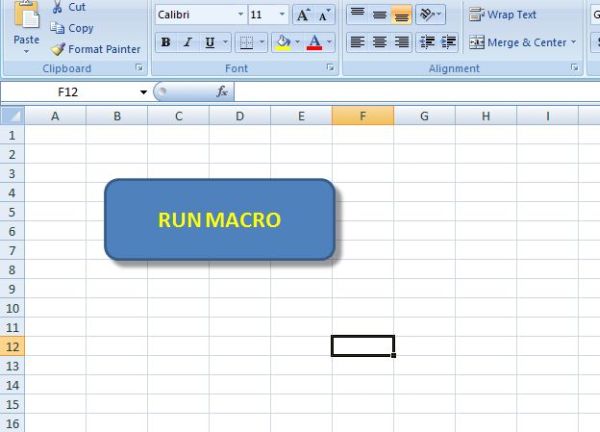
15. Go to the “Generate” sheet and click on the “Run Macro” button.
16. If an error is displayed, please make note of the row and update the row in the “Correct Answer” column. In the screenshot below, you would need to go to the “Correct Answer” Column on Row 7 and add a number there to indicate the “Correct Answer”.

Then return to the “Generate” sheet and click on “Run Macro” button again.
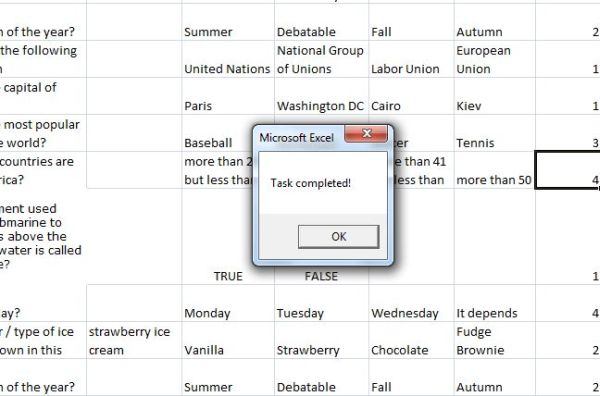
17. If there are no errors, the routine will generate a questions.js file and save it in the same folder where the Excel file is saved. You should see a “Task Completed!” message such as in the following screenshot.
18. Go to the folder where you saved the Excel file. Within this folder, verify that you now have an updated or new questions.js file.
Depending on how your computer is set up, the file extensions may or may not be displayed. In the screen shot below, the extensions are not displayed. The file extensions are displayed in the demo video.

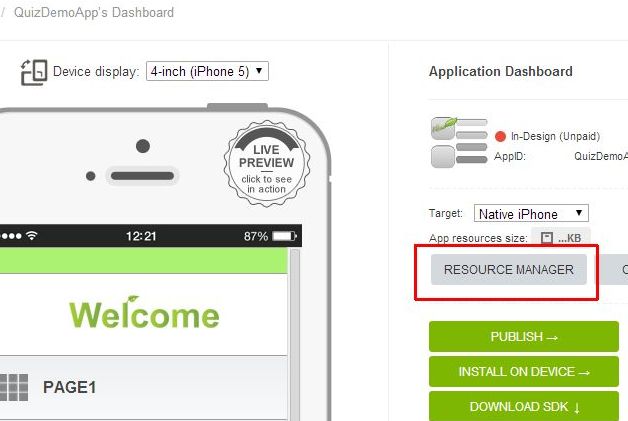
19. Go to your app Dashboard within SeattleClouds. Click on “Resource Manager” button.
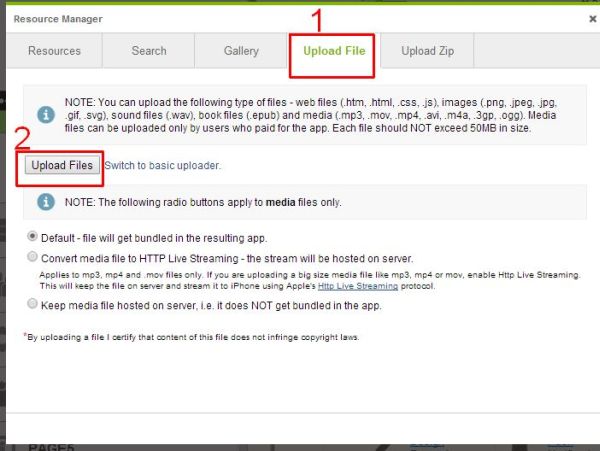
20. Click on “Upload File” Tab, then “Upload Files” Button
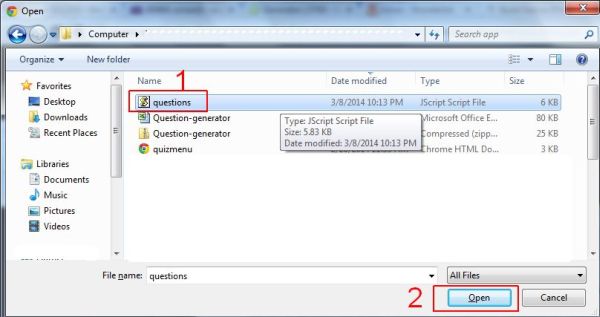
21. In the pop-up window, browse your computer to the folder location shown in Step 18 above. Select the questions.js file and click on the “Open” Button.
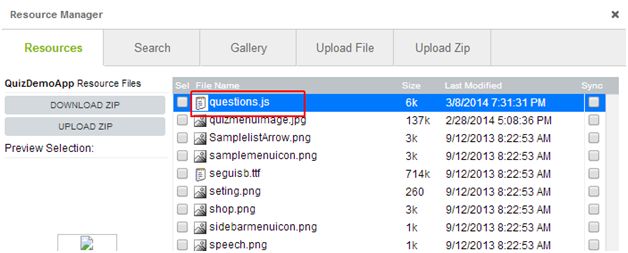
22. The questions.js file should now be uploaded and displayed as shown in screenshot below
23. Proceed to test out the app on your mobile device by using the SC App viewer. Links to the SC apps are available at the top of this page - http://www.seattleclouds.com/myapplications.aspx.